
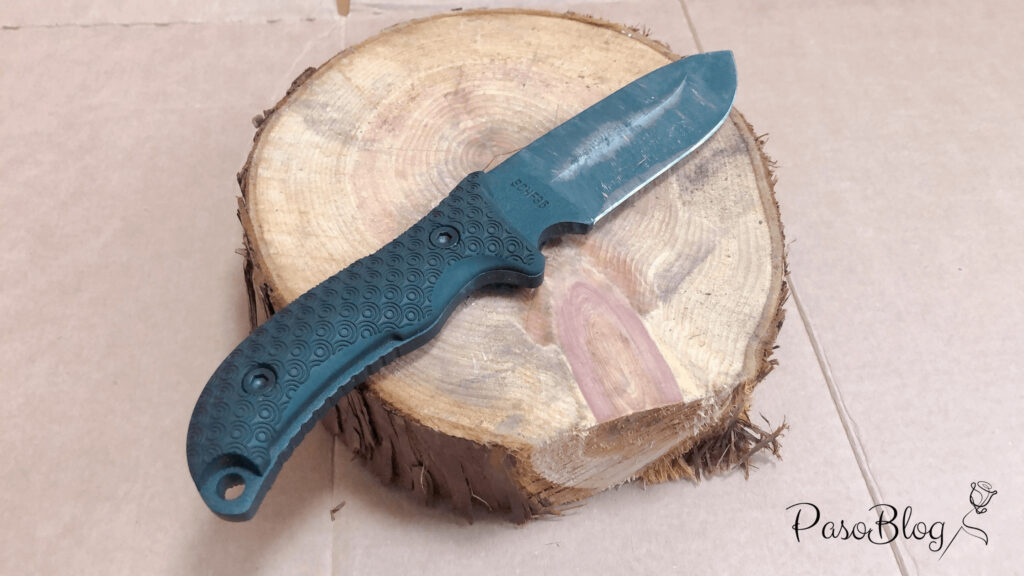
バトニングの際、ナイフを傷つけないために欠かすことができないのが薪割り台。
今回はふもとっぱらキャンプ場で買ってきた、輪切りを薪割り台としてアレンジしていきたいと思います。
とっても簡単なので、初めてのDIYとしてもおすすめなんです。
初心者キャンパーからステップアップしちゃいましょー!
 みつお
みつお ぱそ
ぱそ作成開始
それではDIY初心者が薪割り台を作っていきます。
材料
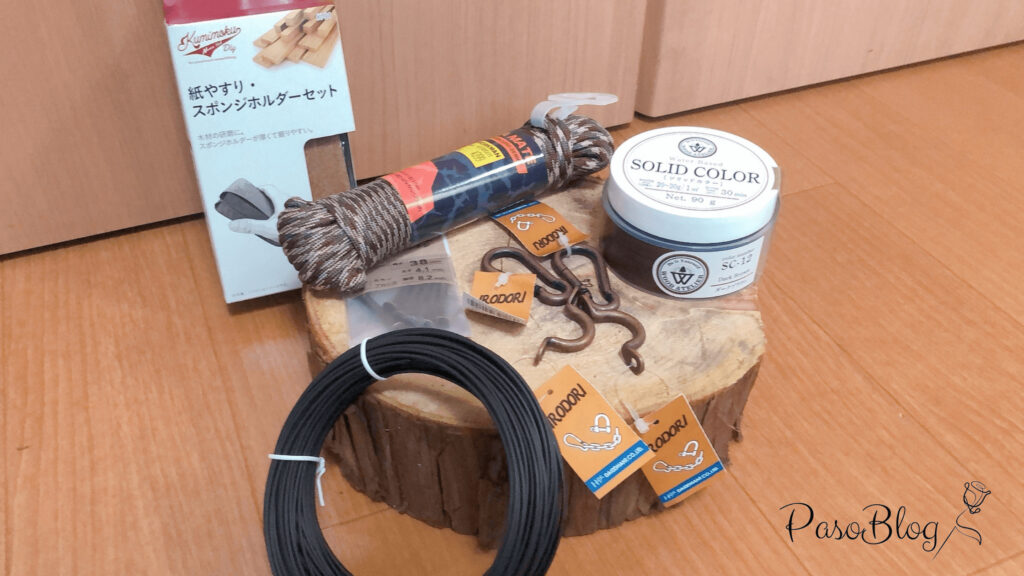
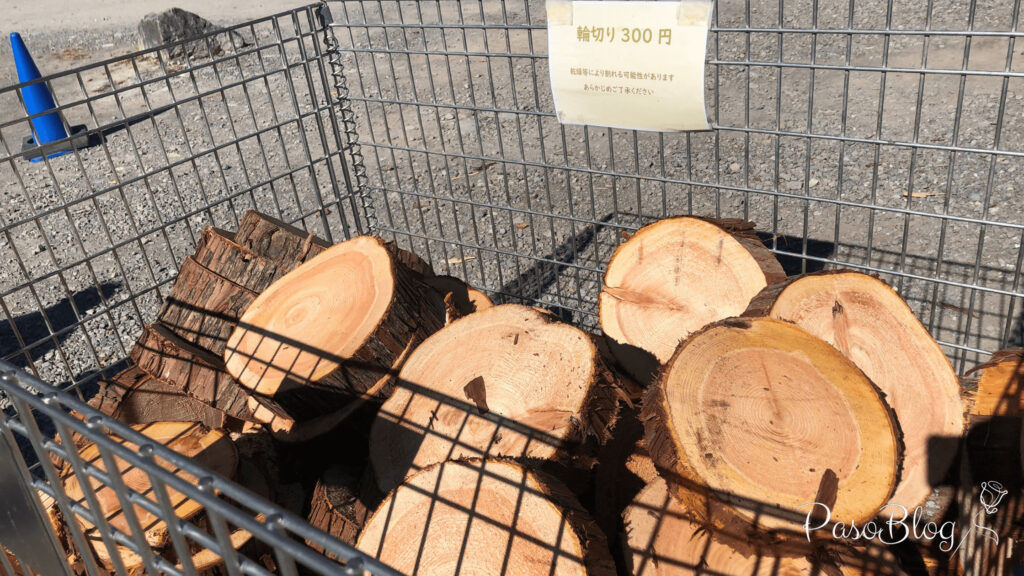
輪切り(300円)
◯カインズで購入
カラビナ×2(198円×2)
取手×2(198円×2)
くぎ(98円)
塗装(980円)
針金(398円)
◯ワークマンで購入
ガイロープ(399円)
材料費
合計2,967円
1 輪切りの皮を剥ぐ。
2 水に浸ける。
3 持ち手の作成。
4 乾燥させる。
5 研磨する。
6 塗装する。
7 固定する。
8 持ち手を付ける。
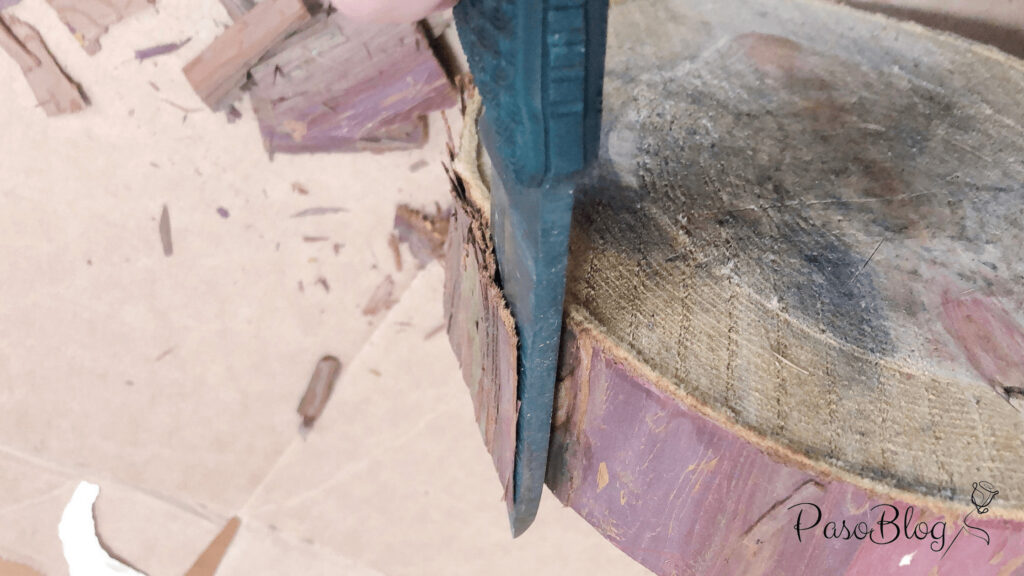
1 輪切りの皮を剥ぐ
皮はあるととてもおしゃれなのですが、水分を含むとカビの原因に…
また、最終的に針金で固定するので、針金が巻きやすいようにしっかり皮を剥いでいきます。
要領はバトニングと一緒でナイフを使って剥いでいきます。
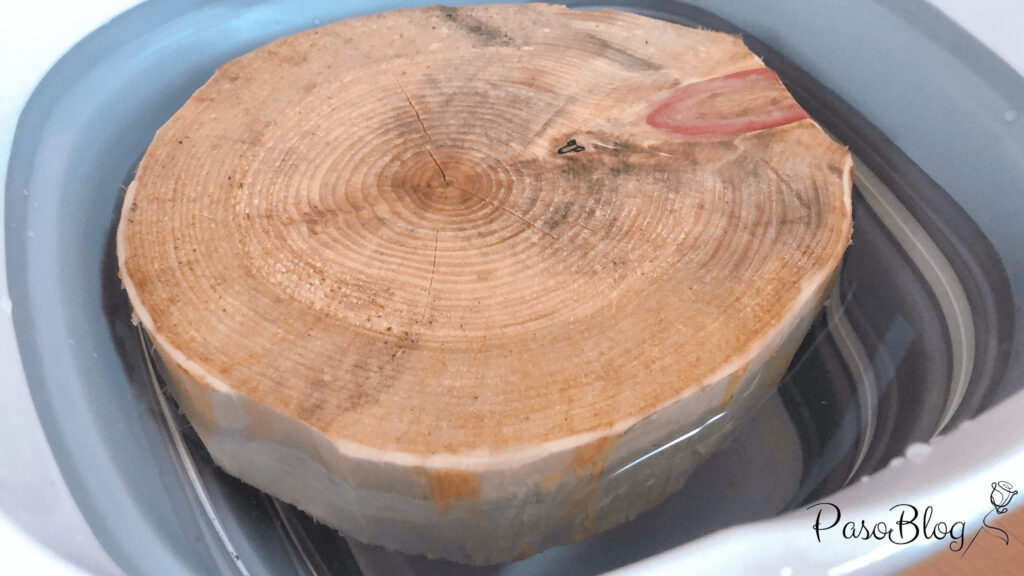
2 水に浸ける
完全に裸になった輪切りを、4日程水に浸けます。
水に漬けることで、内部の汚れの排出や虫の駆除を行います。
3 持ち手を作る
水に浸けている間に、持ち手をカラビナとガイロープで作成します。
ガイロープはアウトドアショップなどで購入すると1,500円以上かかりますが、ワークマンはなんと399円!
中に、ナイロンの芯が7本も入っており、耐久性も抜群。
コスパが良すぎます。
色の種類も3種類あり、今回使用した迷彩柄はとりわけ人気の商品です。
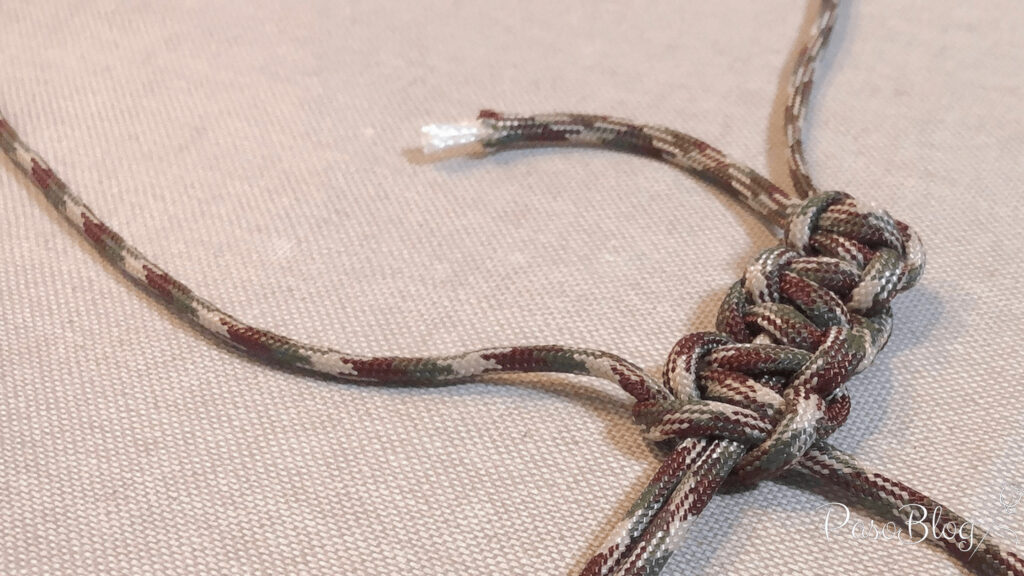
今回は平編みに挑戦。
伸縮性があり、最初は苦労しましたが、一度やり方を掴むとスルスルと編み込むことができました。
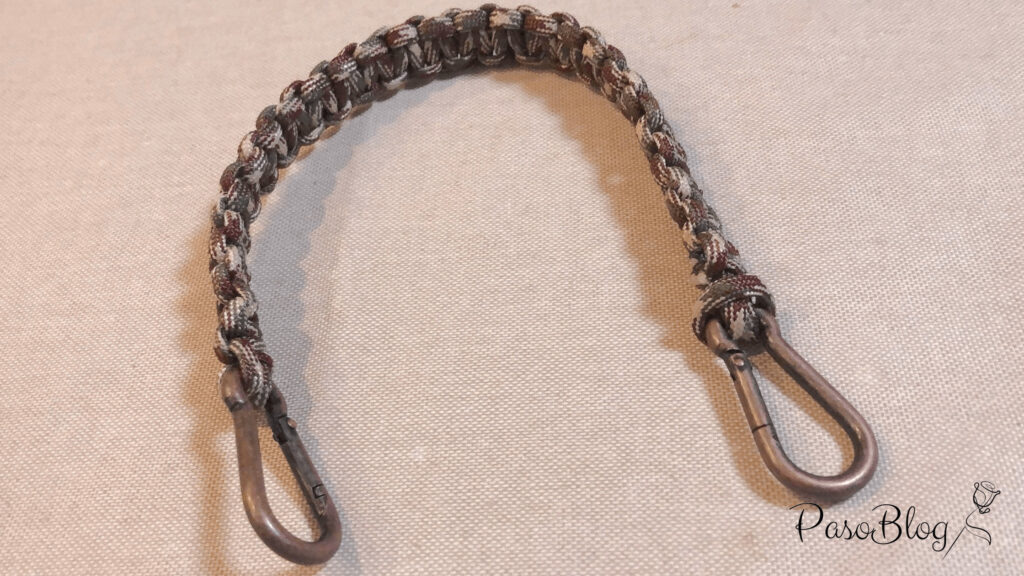
最後はチャッカマンで燃やして溶接。
見栄え良くできました。
4 乾燥させる
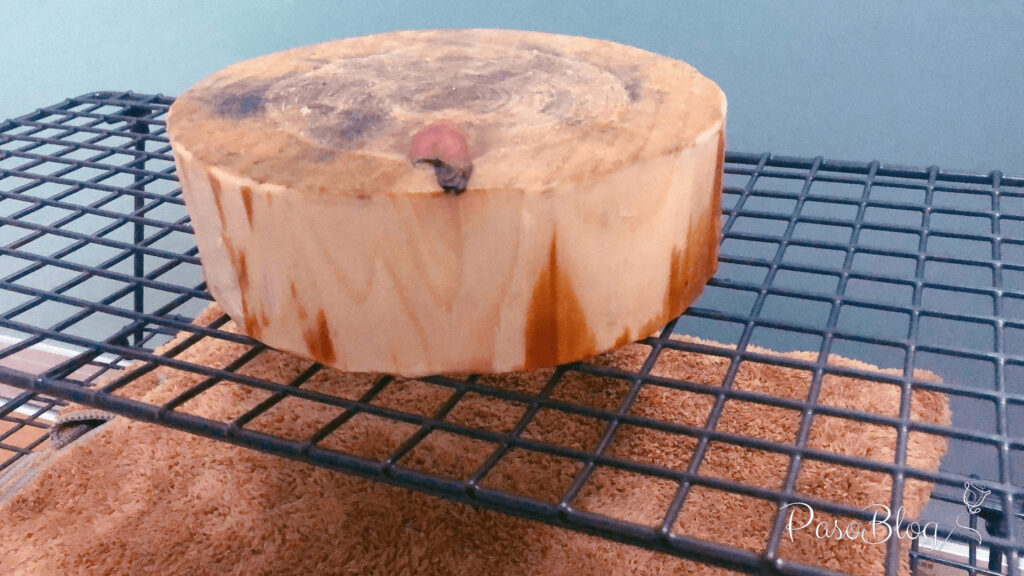
完全に乾燥させます。
風通しの良い場所で1週間放置します。
フィールドラックなどがあるといいですね!
私が使用しているフィールドラックはIKEAのシューズラック(399円)耐久性もそこそこあり、コスパがいいのでおすすめです!
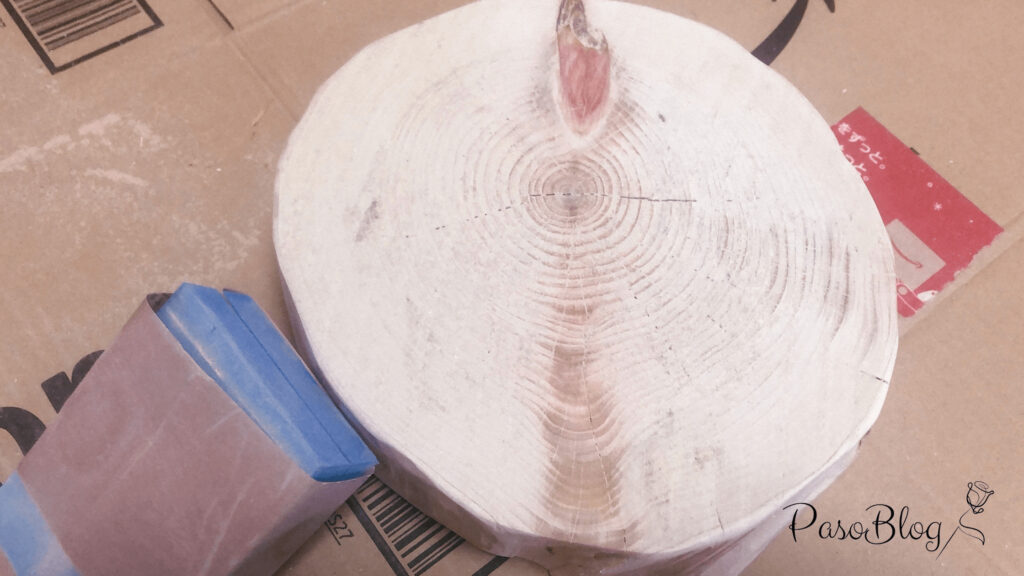
5 研磨する
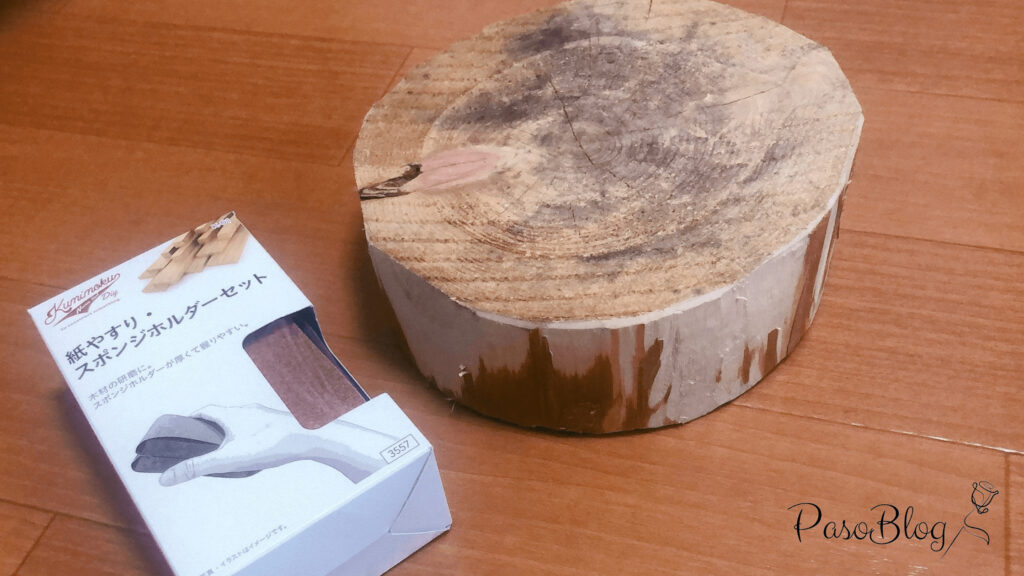
塗装をするので、ここでしっかり研磨します。
使用するのはカインズのヤスリセット。
DYI初心者でも扱いやすかったです!
80番→120番→240番→400番の順で使用しました。
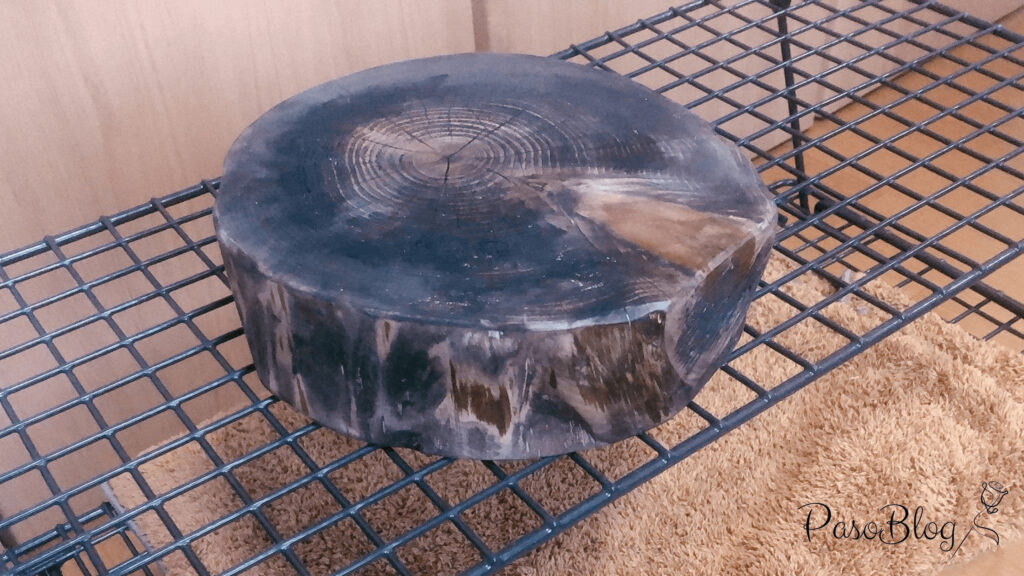
6 塗装する
塗装していきます。
今回使用するのはSCダークブラウン90
発色がいいのはもちろん、購入の決め手になったのは、ウェットティッシュで塗装できる点。
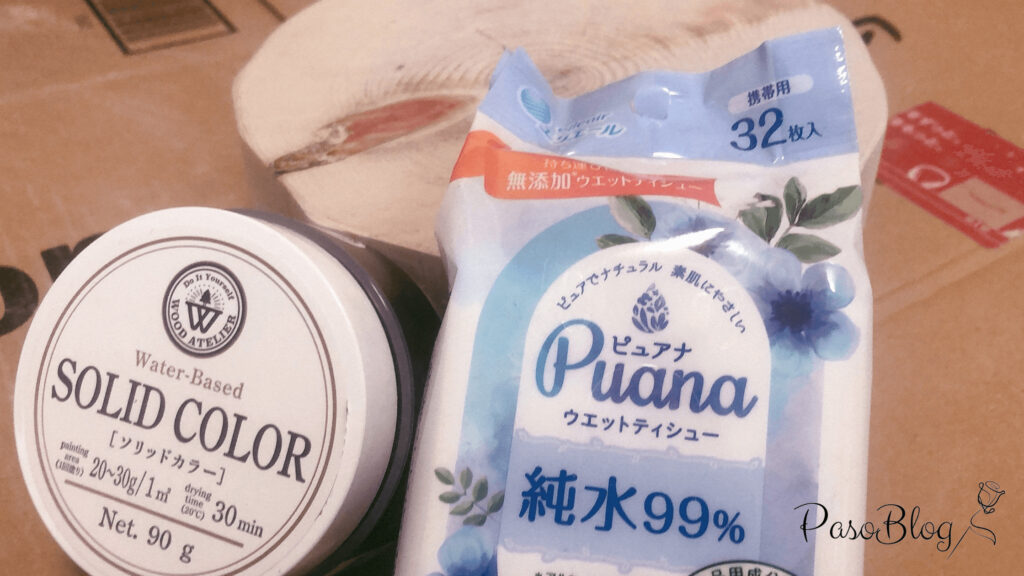
普段からDIYする人ならともかく、一回だけのためになるべくコストはかけたくないですよね。
使用前と使用後の比較はこちら。
少しおしゃれな色に仕上がりました。

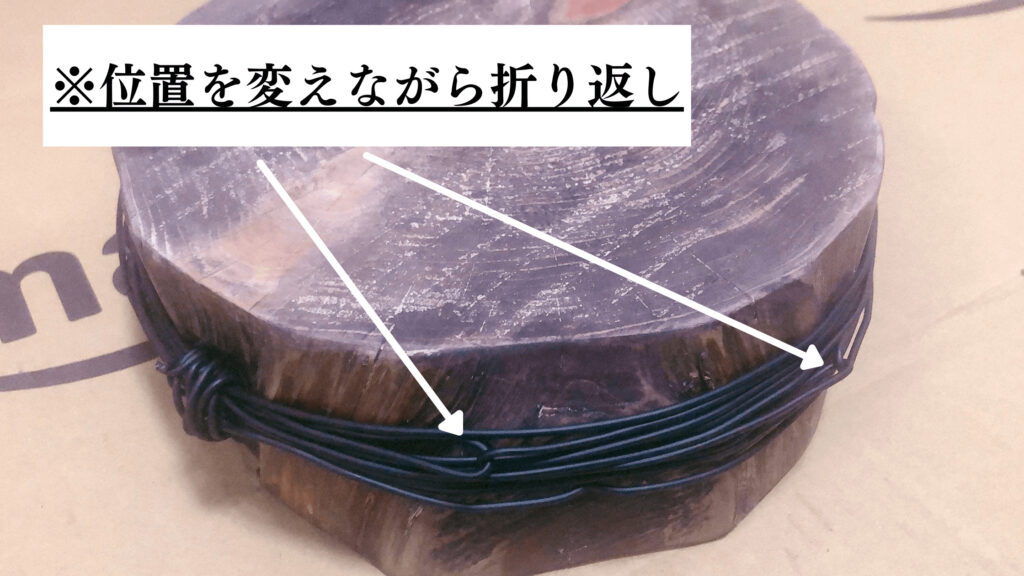
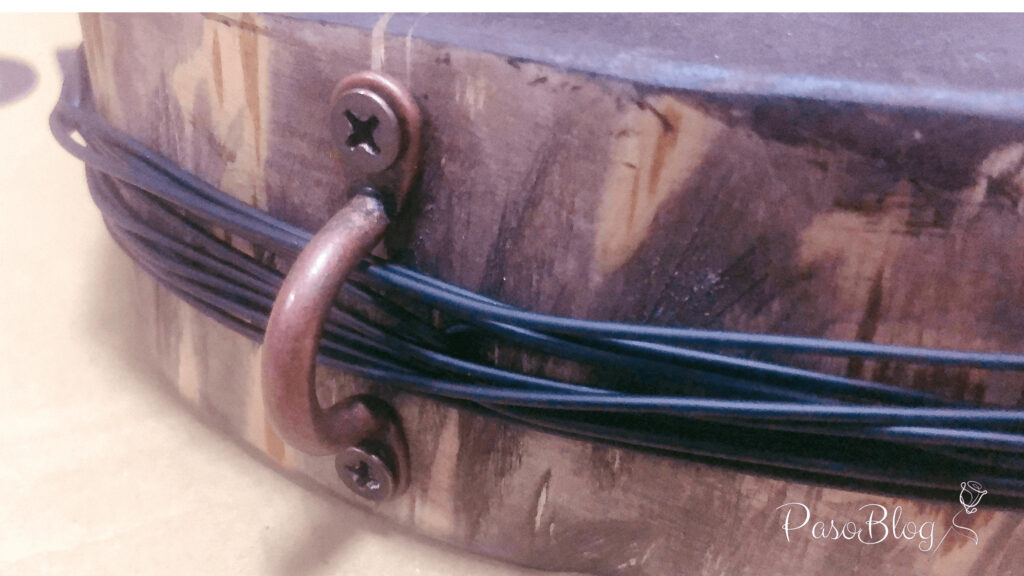
7 固定する
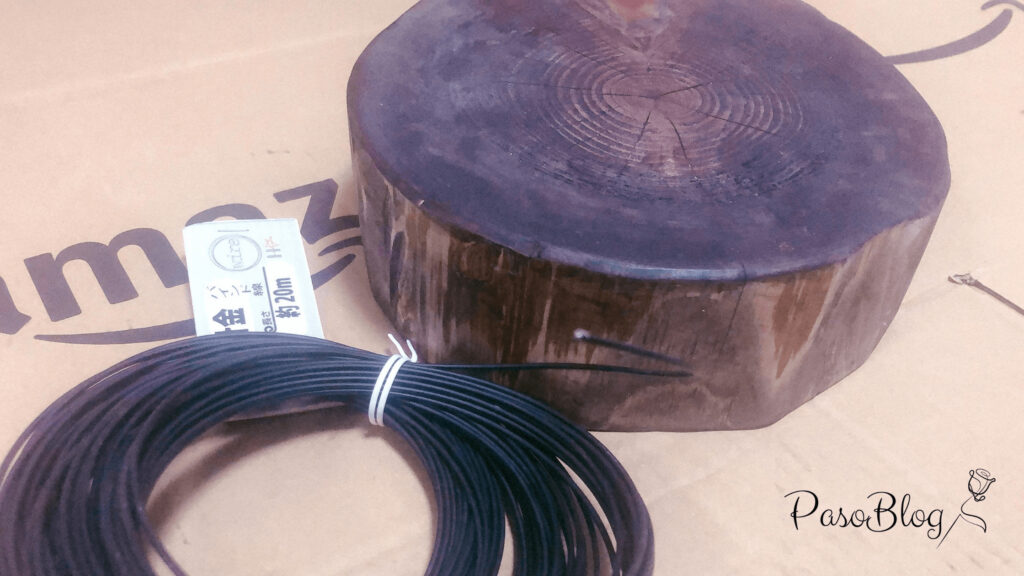
固定は針金を巻き付けていきます。
半周したら捻って折り返し。
なるべくきつく締め付けます。
8 持ち手を付ける
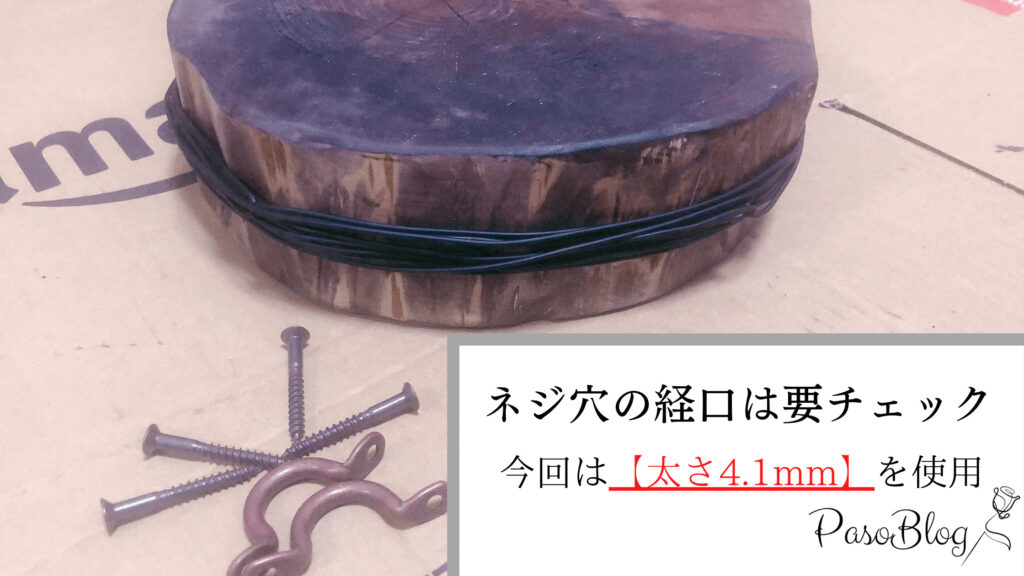
固定が完了したところで、持ち手をつけていきます。
位置を決めましょう。
持ち手同士の間隔が狭すぎると持ちにくいので、少しゆとりができるように取り付けていきます。
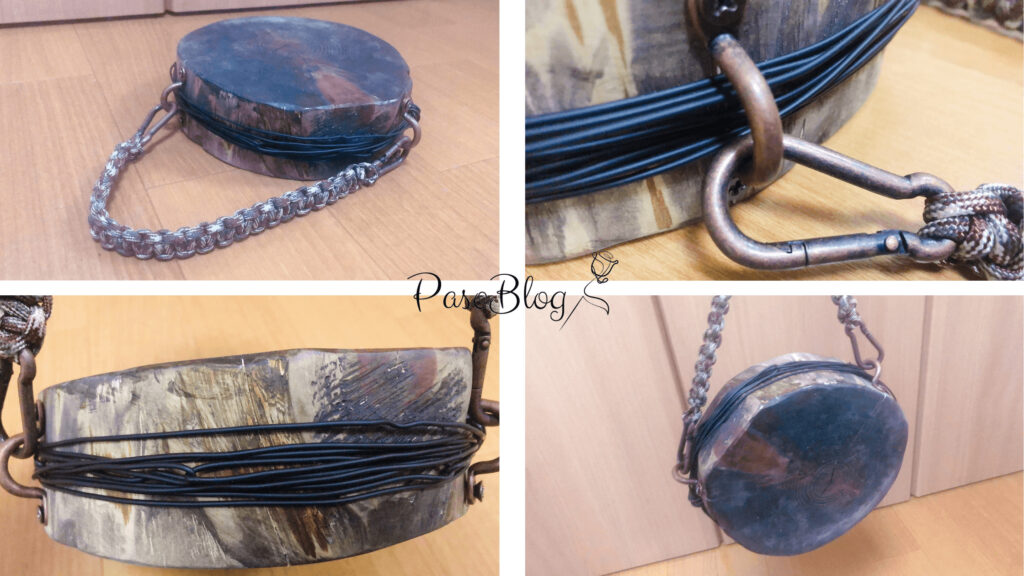
完成
完成した薪割り台はこちら
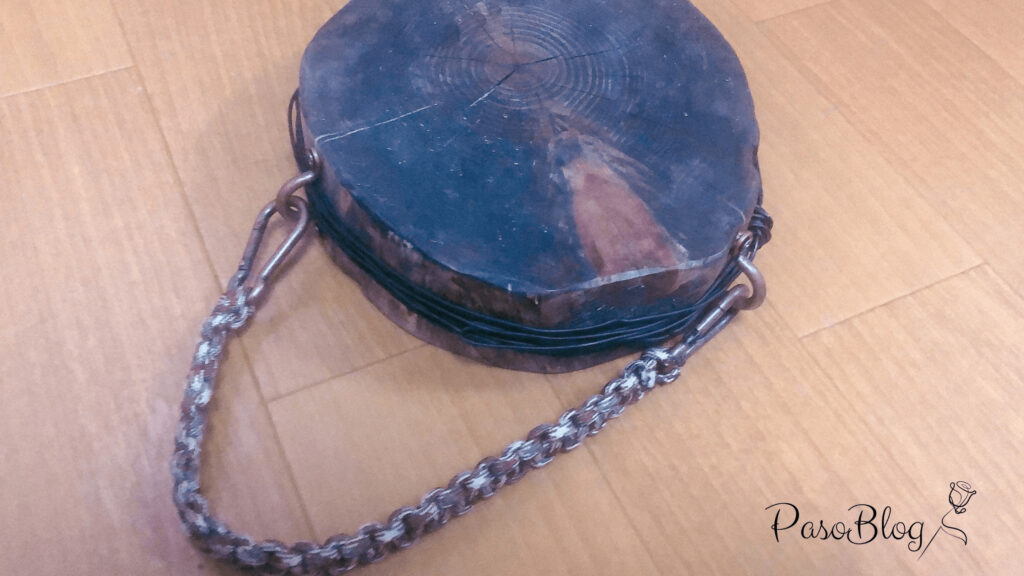
初めてのDIYにしては、おしゃれに仕上がったと思います。
カラビナの錆色もマッチしていますね!
 みつおぱそ
みつおぱそ

コメント
コメント一覧 (2件)
[…] あわせて読みたい 【簡単8ステップ】DIY初心者が薪割り台をアレンジしてみた! バトニングの際、ナイフを傷つけないために欠かすことができないのが薪割り台。今回はふもとっ […]
[…] あわせて読みたい 【簡単8ステップ】DIY初心者が薪割り台をアレンジしてみた! バトニングの際、ナイフを傷つけないために欠かすことができないのが薪割り台。今回はふもとっ […]